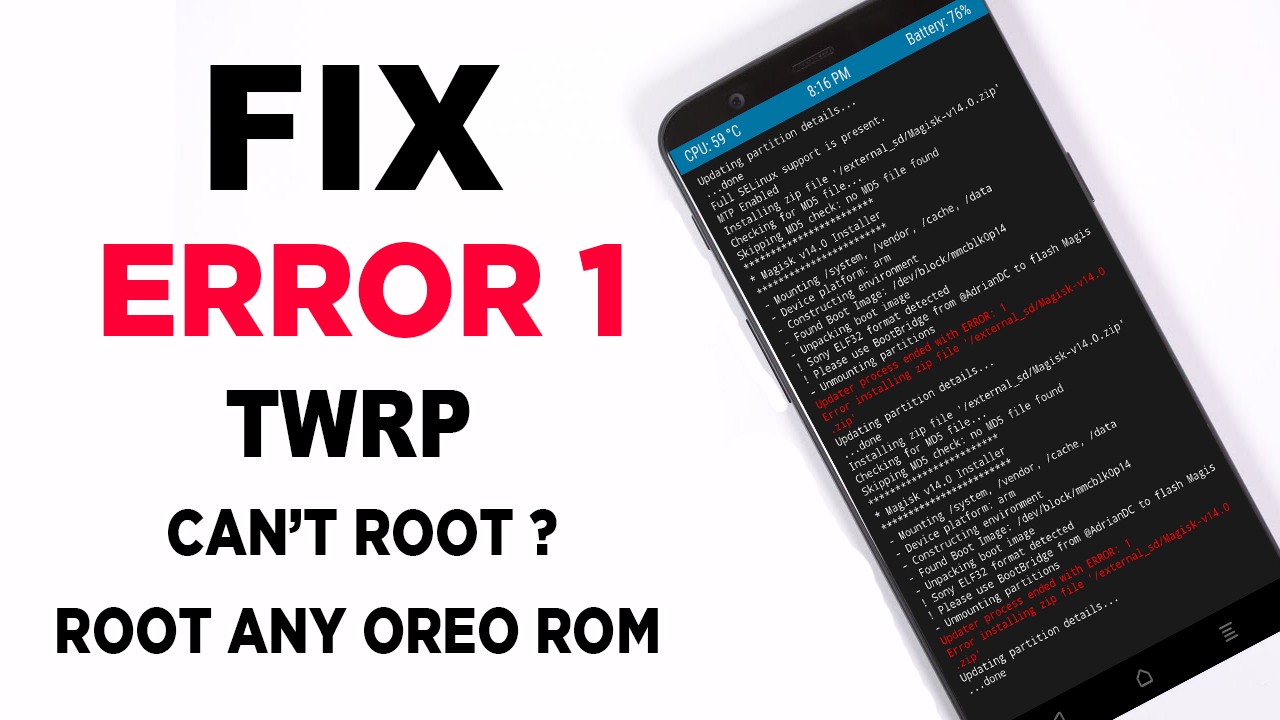
[FIX] Magisk Install Error 1 In TWRP Recovery 100 % Working
A lot of android users have ran into this issue at some point or another, including myself. You went to flash the latest Magisk.zip and TWRP reports error 1. its very freustrating issue that must be solved well i have found a solution for that
1. Flash STOCK BOOT.IMG
- Locate a Stock BOOT.img file for your device/rom. This can usually be found in ROM zip file or your TWRP backups.i Am Using Aosp Exteded Rom Download Here
- Copy and flash your BOOT.img with either fastboot / TWRP / App.
Fastboot method:
- Boot your phone into bootloader mode with adb command “adb reboot bootloader”
- Issue the fastboot command “fastboot flash boot boot.img”
- Reboot back into android “fastboot reboot”
TWRP:
- Place your BOOT.img on your sdcard
- Reboot into TWRP recovery
- Tap “Install”
- In the bottom right corner tap “Install Image”
- Select your BOOT.img
- Select the Boot Partition, then swipe to confirm Flash
App (Flashify):
- Download Flashify
- Install and open app
- Grant Root permissions
- Select “Boot Image” from main page
- Find and select your Boot.img
- Confirm the Flash
din’t work ? try this
Flash the UnSU.zip and magiskuninstaller.zip
Sometimes Magisk simply will not flash because SuperSu and or an old version of Magisk is already installed.
unSuZip:-Download
or
Manually delete Magisk files from /data
- Connect your phone to your PC and open an ADB SHELL. You will need root to do this as well as the following steps. If your device isn’t rooted yet then simply reboot into your custom recovery of choice to do the following commands.
- Change directories to /data
- Use the command “rm” to remove ALL Magisk related files in the root of /data. EXAMPLE: “rm -r magisk” “rm magisk.img” “rm magisk_debug.log”
- reboot your phone for good measure then try installing Magisk again


